Ever tried changing a light bulb in those ceiling fixtures that sit close to the ceiling? They’re called flush mount lighting fixtures, a popular choice for many homes. They give off good light and blend in nicely with your room.
But changing the bulb might seem a bit tricky, right? Well, good news—it’s not that hard. With the right steps and tools, it’s a straightforward and safe job. So, let’s make it simple. Imagine your room staying bright and cozy with these fixtures. Ready to learn how?
Let’s get started!
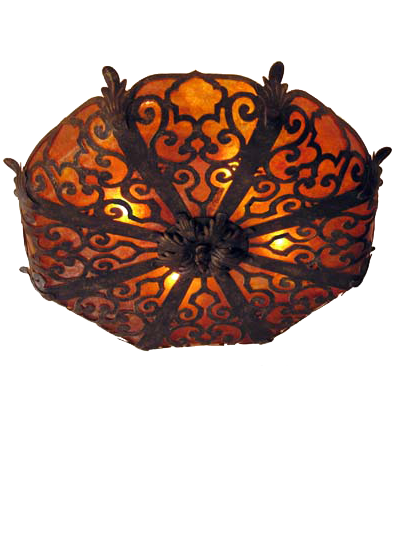
Types of Flush Mount Fixtures:
Before diving into the process of changing a light bulb, it’s helpful to understand the different types of flush mount fixtures available:
1. Screw-On Fixtures
These fixtures typically have a glass or plastic cover that twists off to access the bulb. The bulb itself is screwed into a socket within the light fixture.
2. Spring-Mount Fixtures
Some flush mount fixtures have spring-loaded clips or clasps that secure the cover in place. These require pressing or turning the clips to release the fixture cover for bulb replacement.

Preparing for the Task
Before starting the bulb replacement process, ensure safety and gather the necessary tools and materials:
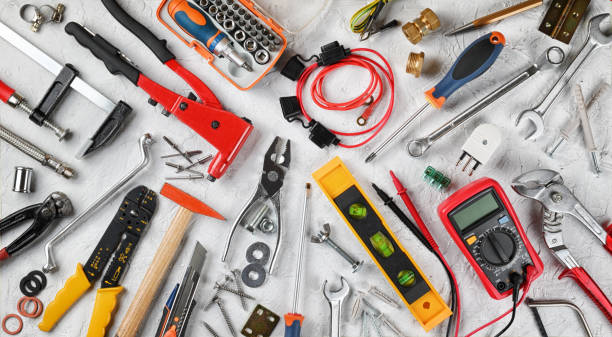
Tools and Materials
- Step ladder
Choose a stable ladder that allows you to reach the fixture comfortably. - New light bulb
Check the fixture’s specifications for the appropriate bulb type and wattage. - Safety glasses or gloves
Safety glasses or gloves are optional but are great to have for additional safety. Gloves also prevent oils from our hands from transferring onto the bulb. - Cloth or tissue
Use this to handle the bulb, preventing skin oils from affecting its lifespan.
Steps on How to Change a Light Bulb in a Flush Mount Ceiling Fixture
Follow these step-by-step instructions to safely change the light bulb in your flush mount ceiling fixture:
Step 1: Turn Off Power
Always begin the process by turning off the power to the fixture. Locate the circuit breaker or switch that controls the light and turn it off to prevent the risk of electrical shock.
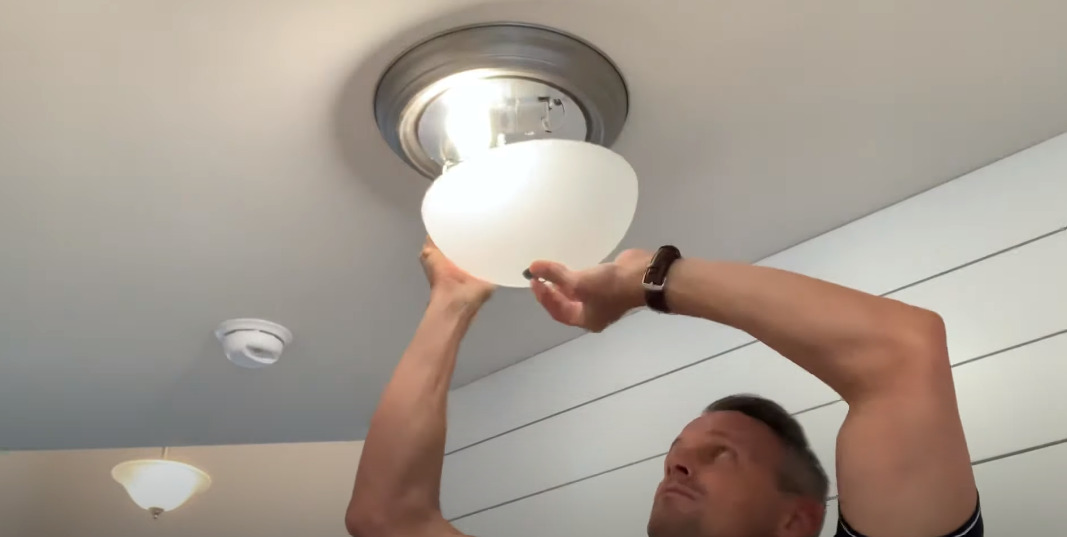
Step 2: Access the Fixture
Use the step ladder to position yourself beneath the fixture. For screw-on fixtures, carefully twist or unscrew the cover counterclockwise to remove it. For spring-mount fixtures, gently press or turn the clips or clasps to release the cover.
Step 3: Remove the Old Bulb
Once the cover is off, handle the old bulb carefully. Let it cool down before grabbing it in your hand. Twist it counterclockwise to release it from the socket. If it’s a burned-out incandescent bulb, you may need to extract carefully any broken pieces if applicable. Dispose of the old bulb properly, considering recycling options for some types.
Step 4: Insert the New Bulb
Take the new bulb and handle it with a cloth or tissue to avoid getting oils from your skin on the bulb’s surface. Align the prongs or base of the bulb with the socket and gently twist it until it’s snugly in place.
Step 5: Replace the Cover
Once the new bulb is screwed snugly into the socket, it’s time to reattach the fixture’s cover. Take this opportunity to dust off the cover to rid it of dust and dirt buildup before securing it back. For screw-on fixtures, twist the cover clockwise until it’s firmly in place. With spring-mount fixtures, align the cover properly and press or turn the clips until they lock the cover into position.
Step 6: Restore Power and Test
After securely reattaching the cover, switch the power back on at the circuit breaker or switch. Test the new bulb by flipping the switch or turning on the fixture to ensure it lights up properly.
Tips to Consider When Changing Bulbs in Flush Mount Ceiling Fixtures
Choosing the Right Bulb
Refer to the fixture’s manual for the appropriate bulb type and wattage to avoid potential damage or hazards. Do not attempt to screw on a bulb with a wattage that is unsupported by the fixture.
Regular Maintenance
Periodically clean the cover and the fixture itself to maintain optimal lighting quality.
Safety First
Always prioritize safety by turning off the power and using a stable ladder when accessing the fixture. Keep potential distractions at bay to avoid mishaps such as trips and falls.
Conclusion
Changing a light bulb in a flush mount ceiling fixture is a straightforward task that can be accomplished with minimal effort and the right precautions. Keep these steps and safety measures in mind, and you can maintain a well-lit space without any hassle.
Whether it’s a screw-on or spring-mount fixture, understanding the type of fixture you have and proceeding with caution ensures a smooth and successful bulb replacement process. Remember, safety should always be a priority when working with electrical fixtures.
Frequently Asked Questions (FAQ)
The lifespan of a light bulb depends on the usage and application of the light fixture. The type of light bulb also plays a part. For instance, LED bulbs are known to last longer than incandescent bulbs. With average use, LED bulbs can last up to 5 years or 50,000 hours.
Before running to the Home Depot, it is crucial to go over the lighting fixture’s user manual. Determine the bulb socket type compatible with the fixture and the supported wattage. Familiarize yourself with the proper procedure to detach the fixture’s cover and prepare any necessary tools.
Replacing the light bulb in a flush mount ceiling fixture is a straightforward task and a great DIY project. However, if the ceiling happens to be too far up to reach despite using a step ladder, don’t hesitate to call your local electrician for a helping hand.
Yes, the compact nature of flush mount lighting fixtures allows for easy illumination of low-ceiling spaces, creating an illusion of higher ceilings.